|
15 hours of free training in just 5 minutes a day |
|
||||||||||||||||||||||||||||||||||||||||||||||||||||||||||||||||||||||||||||||||||||||||||||||||||||||||||||||||||||||||||||||||||||||||||||||||||||||||||||||||||||||||||||||||||||||||||||||||||||||||||||||||||||||||||||||||||||||||||||||||||||
|
|||||||||||||||||||||||||||||||||||||||||||||||||||||||||||||||||||||||||||||||||||||||||||||||||||||||||||||||||||||||||||||||||||||||||||||||||||||||||||||||||||||||||||||||||||||||||||||||||||||||||||||||||||||||||||||||||||||||||||||||||||||
|
|
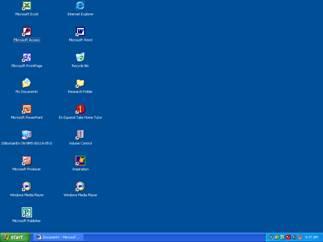
Technology Tip Number 51 Getting Through Windows Today’s Technology Tip will help you navigate your way through the various folders and windows on your Microsoft desktop. Some common terminology you should be familiar with:
Shortcut to Word:
The “My Computer” Icon:
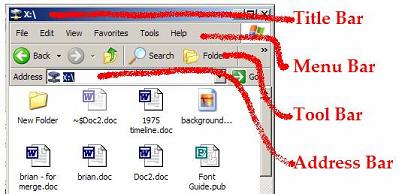
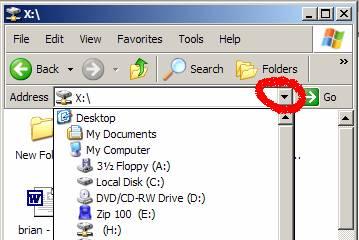
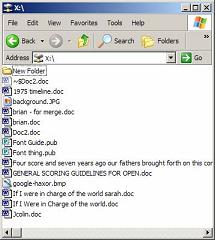
You might notice that your icons and folders might look different than the ones pictured above. When ever you open a folder (by double clicking the left mouse button) a new window opens to show you what is in that folder. You can change how the icons (files) are displayed. Here’s how: 1) Open a folder, any folder. 2) Every window has the following “Bars” at the top:
The Title Bar tells you the name of the folder you are in. In this example the title bar tells you that you are in a network drive called "X:" Each word on the Menu Bar gives you a drop down menu of options. The Tool Bar offers you shortcuts for common tasks The Address Bar tells you which folder you are in and also offers you a way to access other folders. If you click the triangle on the Address Bar you can see a drop down list of other folders and pathways to them:
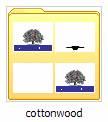
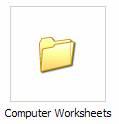
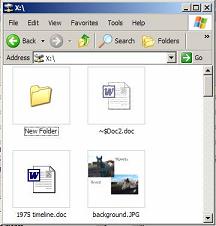
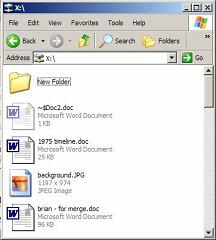
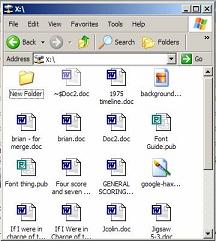
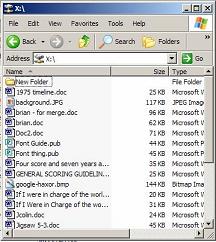
3) To change the view click on the word “View” on the menu bar and select a new view from that list. Each view has its own advantages and disadvantages. For example, if you are looking at a folder full of pictures you might want to use the “Thumbnail” view so you can see what each picture looks like. If you are trying to clean out your C: drive you might want to use the “Details” view to find the largest files so you can delete them first. Here are some sample views of the same folder:
TO KEEP ON LEARNING: If you'd like to learn some more about the desktop in Microsoft Windows try searching the internet for: Microsoft Windows
History
Have a nice day!
|
Home & Index Sign Up Now!
|
|||||||||||||||||||||||||||||||||||||||||||||||||||||||||||||||||||||||||||||||||||||||||||||||||||||||||||||||||||||||||||||||||||||||||||||||||||||||||||||||||||||||||||||||||||||||||||||||||||||||||||||||||||||||||||||||||||||||||||||||||||
| © 2006 180TechTips.com | |||||||||||||||||||||||||||||||||||||||||||||||||||||||||||||||||||||||||||||||||||||||||||||||||||||||||||||||||||||||||||||||||||||||||||||||||||||||||||||||||||||||||||||||||||||||||||||||||||||||||||||||||||||||||||||||||||||||||||||||||||||